
Enable SSH Mac OS X
17 Mar 2021, midnight
3 Dec 2021, 7:25 a.m.
01:25 minutes

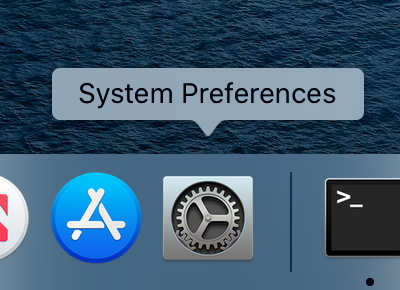
Step 1
Click on the system preferences icon
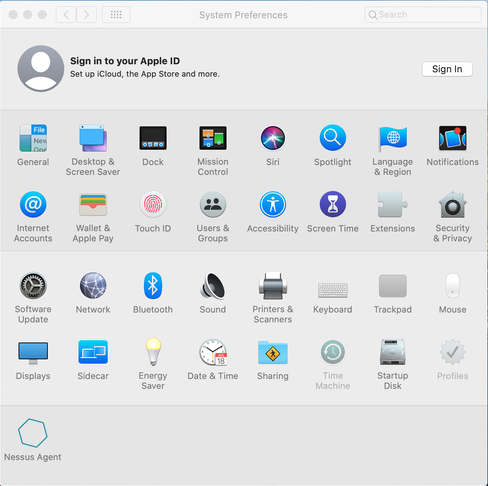
Step 2
You will be presented with the system preferences panel. Click “Sharing”.
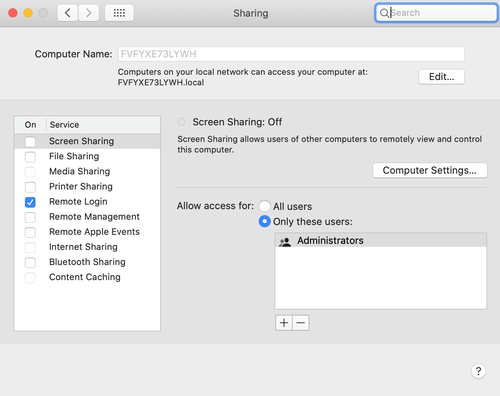
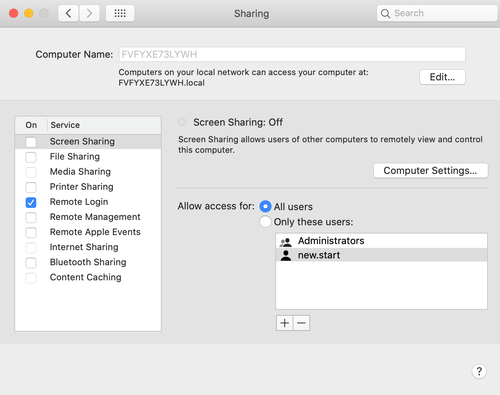
Step 3
On the left-hand navigation menu, make sure “remote login” is checked.
Step 4
Click the plus icon as indicated by the arrow in the screenshot. From here we can add individual system users and provide them access.
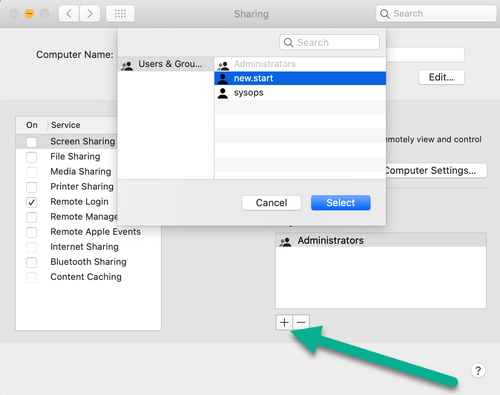
Step 5
Alternatively, if you wish to give access to everyone on the system you can select the radio control next to the label “Allow access for:” and select “All users” to enable remote login for all users
Anonymous
You're not logged in; your comment will be anonymous.
Log in here to post from your account, or via your social media account:
0 comments
