
Customising Windows 10

This guide is going to take you through a number of components to get your machine ready for subsequent parts of this guide.
Preparing
Hit the Windows key and type cmd.
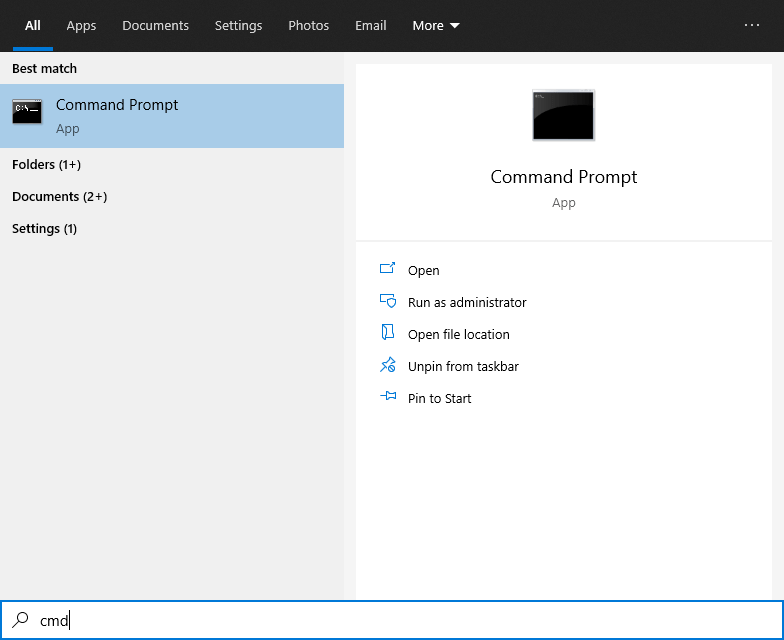
Hold down CTRL + SHIFT and now hit the Enter key to open the command prompt as an elevated user.
Now hit the Windows key and type PowerShell
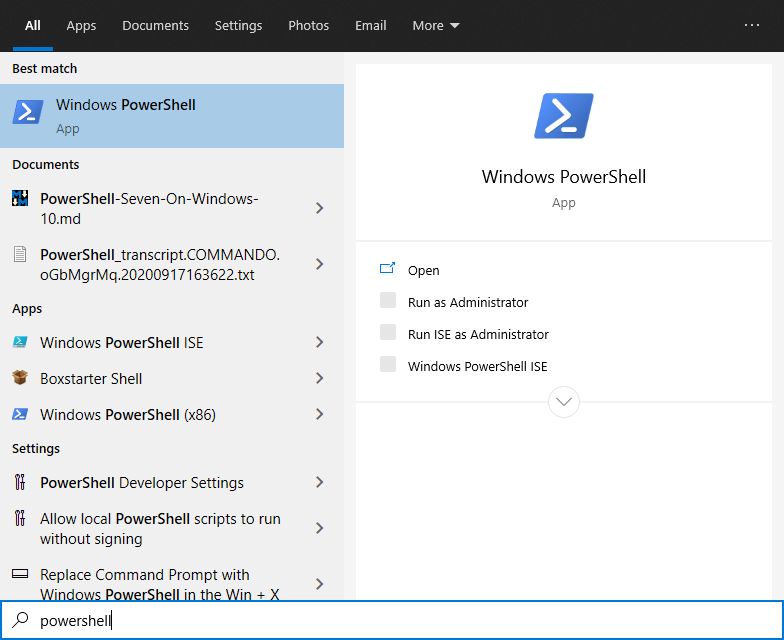
Hold down CTRL + SHIFT and now hit the Enter key to open the PowerShell prompt as an elevated user.
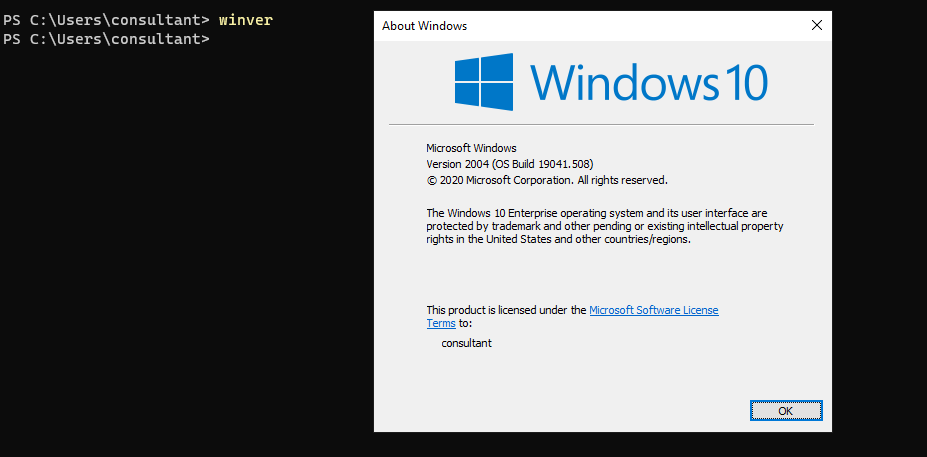
Windows Version
PowerShell 7
Quick one-liner to install the latest version (PowerShell 7 is current at time of print) on Windows
iex "& { $(irm https://aka.ms/install-powershell.ps1) } -UseMSI"
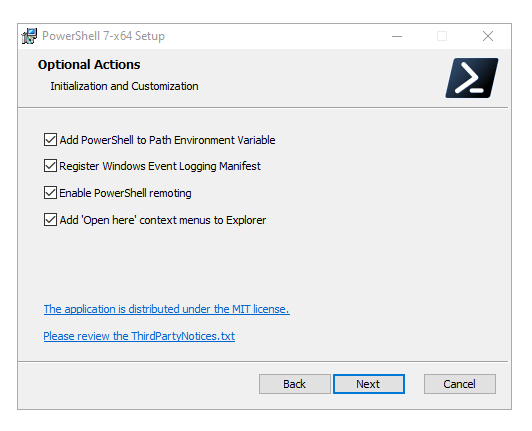
Follow the Wizard to the step headed “Optional Actions” and check the selection to “Enable PowerShell remoting”. I also like to select “Add ‘Open here’ context menus to Explorer”.
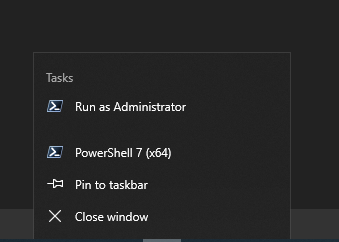
Select the “Launch PowerShell” in the bottom left of the next wizard.
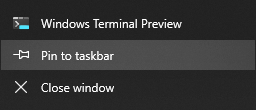
Now “Right Click” the PowerShell icon and select “Pin to taskbar”.
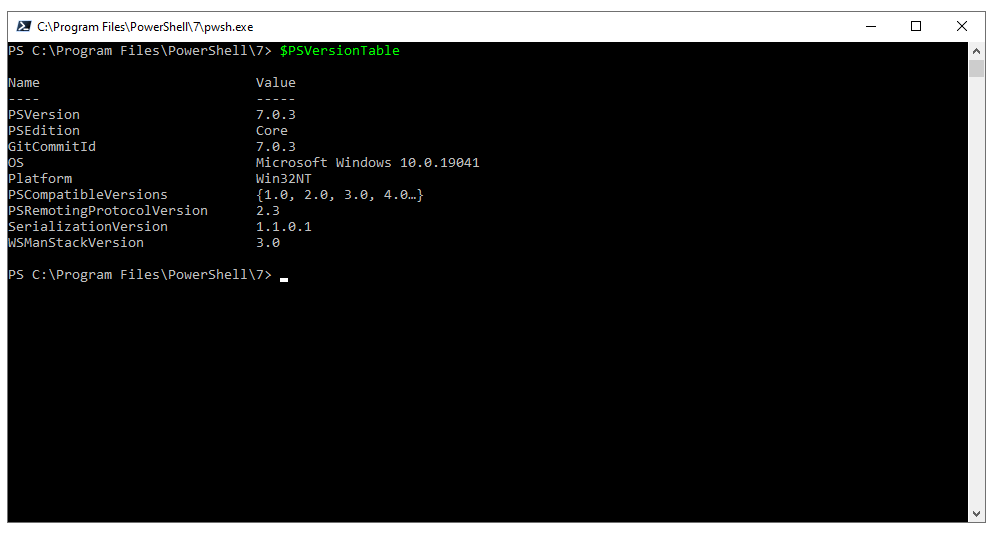
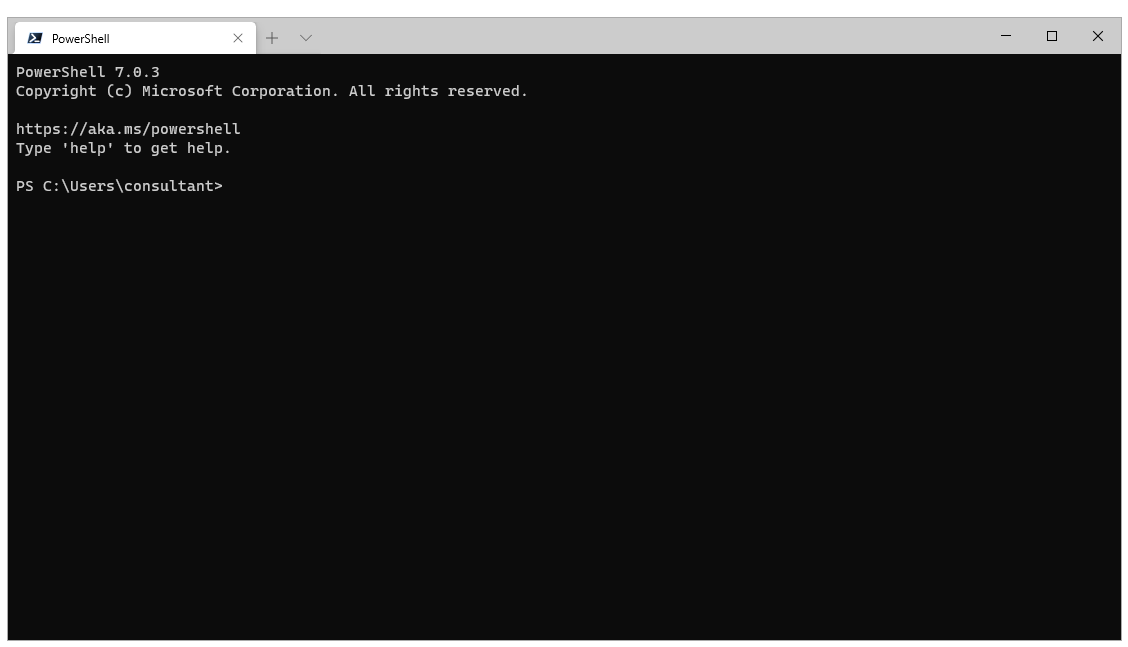
Now enter $PSVersionTable to confirm the version of PowerShell.
To install on Linux
wget https://aka.ms/install-powershell.sh; sudo bash install-powershell.sh; rm install-powershell.sh
WSL
WSL version 2 is real Linux on real Windows :)
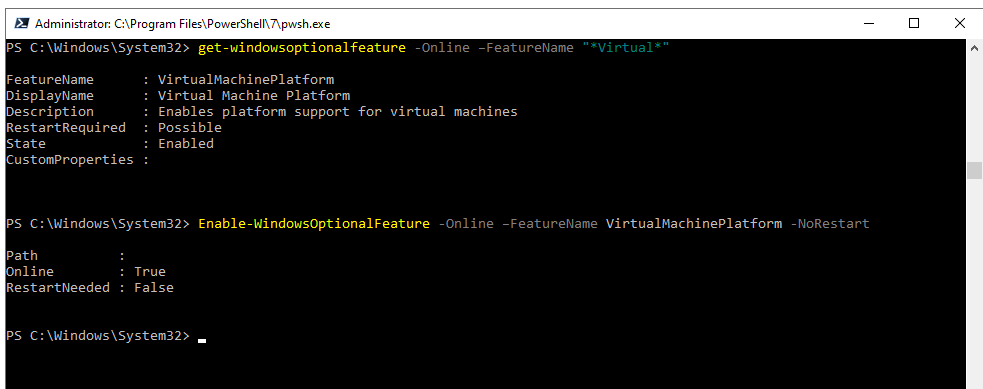
Next, we will install the Windows Subsystem for Linux and the VirtualMachinePlatform.
Dism vs Enable-WindowsOptionalFeature
dism.exe /online /enable-feature /featurename:Microsoft-Windows-Subsystem-Linux /all /norestart
dism.exe /online /enable-feature /featurename:VirtualMachinePlatform /all /norestart
Enable-WindowsOptionalFeature -Online -FeatureName Microsoft-Windows-Subsystem-Linux -NoRestart
Enable-WindowsOptionalFeature -Online -FeatureName VirtualMachinePlatform -NoRestart
Setting version 2 of the Windows Subsystem for Linux to the default
wsl –set-default-version 2
If you get an error message saying
WSL 2 requires an update to its kernel component. For information please visit https://aka.ms/wsl2kernel
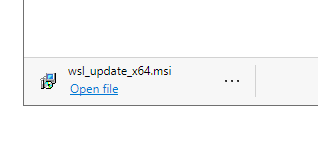
This means you need to install the MSI another component.
Go to https://aka.ms/wsl2kernel
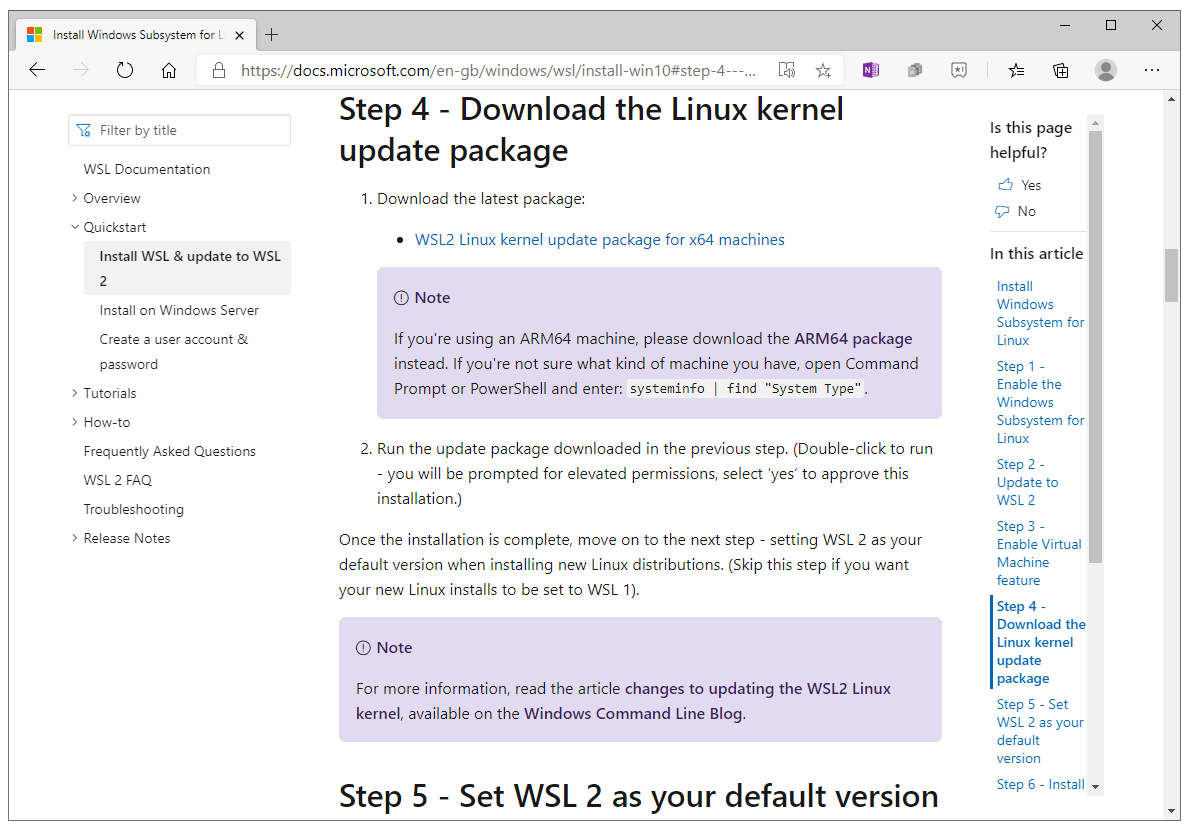
Download by clicking the link “WSL2 Linux kernel update package for x64 machines”
If at this point you need to restart your virtual machine.
restart-computer -Confirm
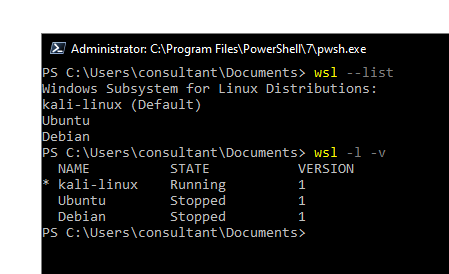
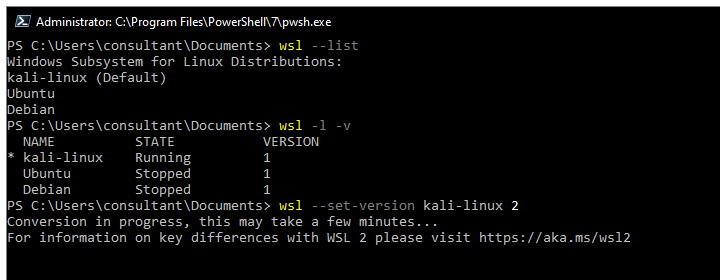
List various versions of Linux
wsl --list
wsl -l -v
Listing versions we can see the difference
We will want to upgrade any WSL Linux machines running version 1 (Hyper-V method)
Reasons to upgrade to WSLv2 Reasons to Upgrade to WSLv2
wsl --set-version kali-linux 2
Run the Kali Linux Distribution
wsl -d kali-linux
Debugging
wsl --shutdown
dism /Online /Cleanup-Image /RestoreHealth
Install Code by typing code .

Now type code . again and watch as Visual Studio opens up in the Windows Host showing files from the WSL

Docker for Windows
Requirements
- Windows 10 64-bit: Pro, Enterprise, or Education (Build 16299 or later).
- Hyper-V and Containers Windows features must be enabled.
Note - For Windows Home Edition follow this link https://docs.docker.com/docker-for-windows/install-windows-home/
-
Grab the installer https://hub.docker.com/editions/community/docker-ce-desktop-windows/
-
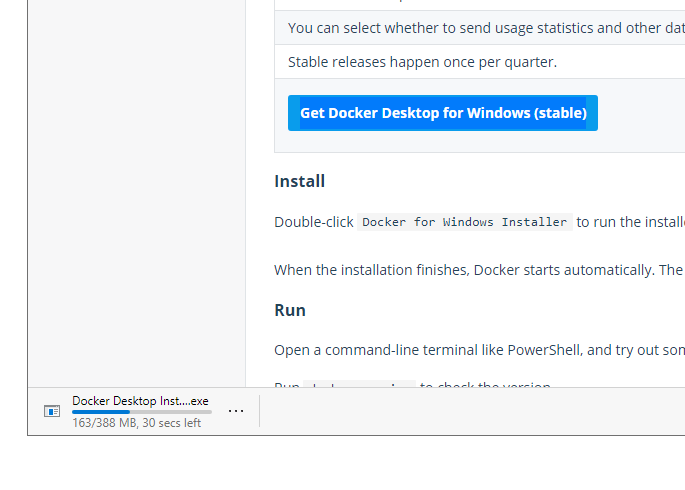
Double-click the blue “Get Docker Desktop for Windows (stable)” button to download the executable.
-
Double-Click the “Docker Desktop Installer.exe” to run the installer.
-
When prompted, ensure the Enable Hyper-V Windows Features option is selected on the Configuration page.
-
Follow the instructions on the installation wizard to authorize the installer and proceed with the install.
If your admin account is different to your user account, you must add the user to the docker-users group. Run Computer Management as an administrator and navigate to Local Users and Groups > Groups > docker-users. Right-click to add the user to the group. Log out and log back in for the changes to take effect.
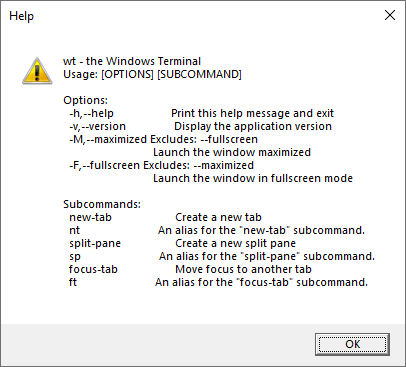
Terminal App
The terminal app is seemingly turning out to be a boon for developers and those who have always looked at Windows machines with huge expectations. The open-source terminal app boasts a range of powerful features including multiple tabs, Unicode and UTF-8 character support, and GPU accelerated text rendering engine. It’s designed to be an all-in-one platform for Command Prompt, PowerShell, WSL and SSH so that developers can have seamless access to all the tools. Even better, this all-new command-line app also features custom themes and styles for a more personalized experience
The new Shell
Pin terminal to the taskbar
Customisation
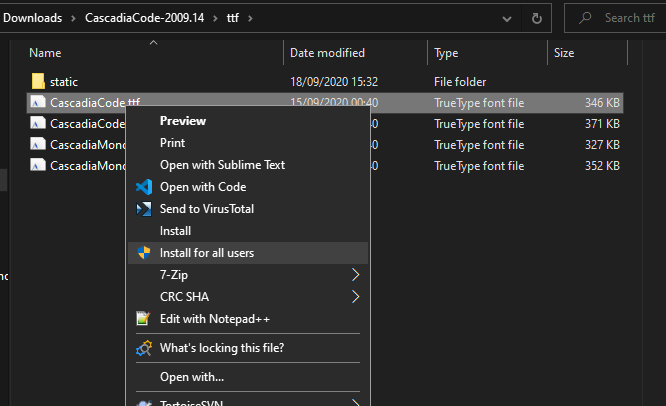
Cascadia Fonts
Next, I am going to install Microsofts Cascadia Code Font
Click “Install for all users”
Git
Install Git for Windows
Posh-Git adds Git status information to your prompt as well as tab-completion for Git commands, parameters, remotes, and branch names. Oh-My-Posh provides theme capabilities for your PowerShell prompt. PSReadline lets you customize the command line editing environment in PowerShell.
Install-Module posh-git -Scope CurrentUser
Install-Module oh-my-posh -Scope CurrentUser
PowerShell Core
Install-Module -Name PSReadLine -Scope CurrentUser -Force -SkipPublisherCheck
Oh My Posh Themes
Pick a theme for Oh My Posh
Import-Module posh-git
Import-Module oh-my-posh
Set-Theme Paradox
Customise your Kali
Install Powerline
sudo apt install golang-go
go get -u github.com/justjanne/powerline-go
Install Hyper for Windows https://releases.hyper.is/download/win
With the Hypershell open, enter the following commands
settings.json
The settings.json file as the name suggests contains settings for the terminal application. A few of the important settings like what should be your default profile, color scheme, key bindings, etc can be found here.
To open the default.json file hold the alt key while opening the settings.json file as mentioned above.
defaults.json
The defaults.json file contains all the default configuration values for the terminal. This file can be used for reference, as it is an auto-generated file and contains all complete default configuration of the terminal application.
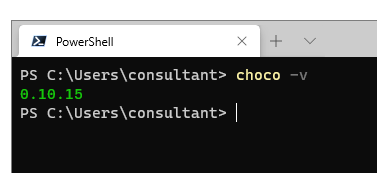
Install Chocolatey
From an elevated PowerShell Prompt
Set-ExecutionPolicy Bypass -Scope Process -Force; [System.Net.ServicePointManager]::SecurityProtocol = [System.Net.ServicePointManager]::SecurityProtocol -bor 3072; iex ((New-Object System.Net.WebClient).DownloadString('https://chocolatey.org/install.ps1'))
Confirm the installation of Chocolatey
Let us install some packages
choco install wsl-kalilinux
FireEye Commando-vm
Download the latest from: https://github.com/fireeye/commando-vm
Unzip the folder.
Use my custom profile evilsaint.json.
My main additions are
{"name": "wsl.fireeye"},
{"name": "hyperv.fireeye"},
{"name": "markdownmonster"},
{"name": "wsl-ubuntu-2004"},
{"name": "wsl-archlinux"},
{"name": "wsl-debiangnulinux"},
{"name": "microsoft-windows-terminal"},
{"name": "everything"},
I like to remove
{"name": "burp.free.fireeye"},
cinst install <package>
cup all
Customising WSL
Kali Machine
sudo apt-get update
sudo apt-get dist-upgrade
sudo apt-get clean
sudo apt-get --yes --force-yes install kali-desktop-xfce xorg xrdp
sed -i 's/port=3389/port=3390/g' /etc/xrdp/xrdp.ini
sudo apt install kali-win-kex
sudo apt install kali-linux-large
Run Win-KeX
- Windows mode
- seamless mode
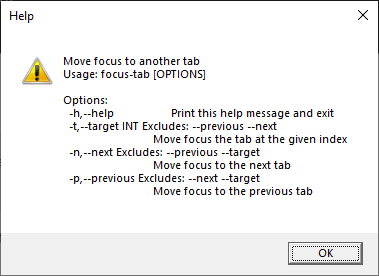
Moving Around
start WT 'new-tab "PowerShell" ; split-pane -p "KaliGeneral" ; split-pane -H -p "KaliC2" | set-focus -n wsl.exe
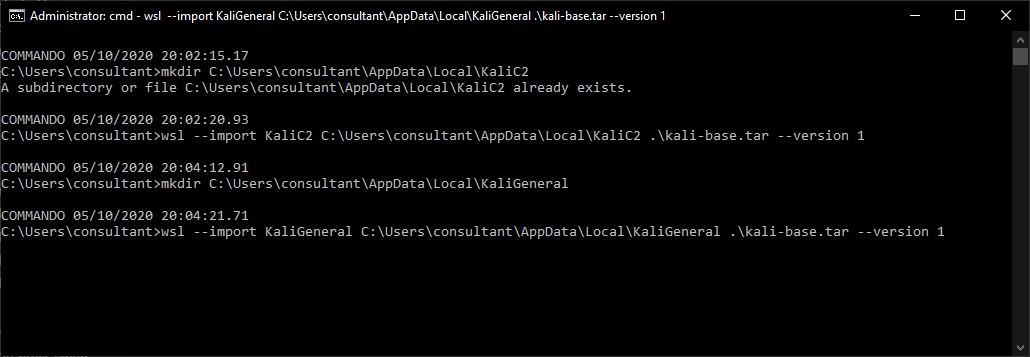
mkdir C:\Users\consultant\AppData\Local\KaliC2
wsl --import KaliC2 C:\Users\consultant\AppData\Local\KaliC2 .\kali-base.tar --version 1
mkdir C:\Users\consultant\AppData\Local\KaliGeneral
wsl --import KaliGeneral C:\Users\consultant\AppData\Local\KaliGeneral .\kali-base.tar --version 2


Customise Toys
- Groupy
- Taskbar X
- T Clock
- Power Toys
- Everything
- Rocket / Launcher
- wox
- sharex
- ditto
Anonymous
You're not logged in; your comment will be anonymous.
Log in here to post from your account, or via your social media account:
0 comments
