
Rename a VMDK disk and associated files with VMware Virtual Disk Manager

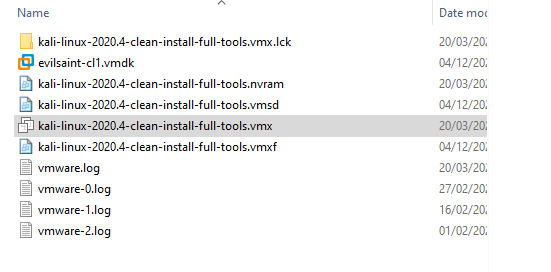
I have a template Kali Linux Virtual Machine that I keep around in case in case of an unfixable error on my current engagement machine. The filenames inside this folder are quite verbose and are intentional to remind me what platform and version it is come to using the backup. This is fine for keeping backups but due to my OCD, I like to rename my engagement machines. Inside the below explorer window it can look quite daunting seeing all the verbose filenames associated with the machine; many consultants do not attempt to rename their machines in fear of messing them up. After all the machine has many associated files we need to rename.
The VMware Virtual Disk Manager is a tool that is included with VMware Workstation.
TLDR - What we are about to do is make a new machine with the exact naming convention and filesystem we want. We will then delete its hard disk drive and using the VMware Virtual Disk Manager tool included with VMware Workstation we will rename (and move) the old disk from the template to match.
NB - I said we will be renaming and moving the hard disk drive so if you would like to use this baseline in the future then I suggest it is something you keep additional copies of.
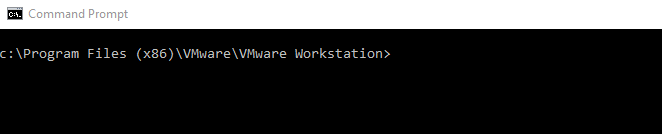
It is typically installed into the following folder:
This folder contains lots of files. Check for the presence of the VMware Disk Manager tools by using a wildcard character following some of the initial prefix e.g. dir vmware*
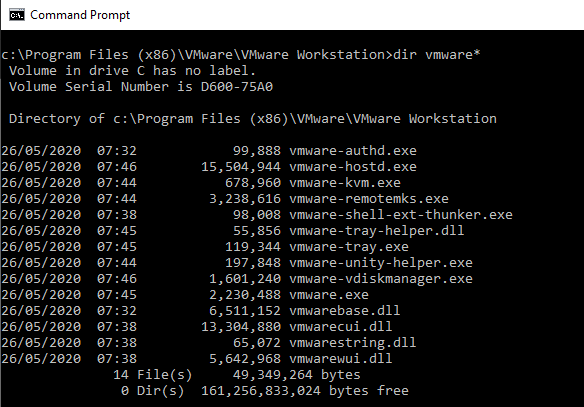
Great so the tools are present. We want to rename our VMware Virtual Machine contained in the following folder.

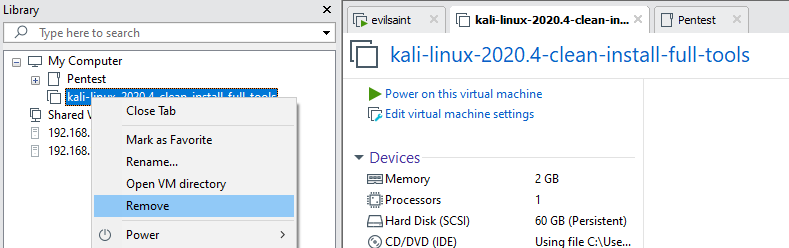
As I do not need the VM Image to function from inside VM Workstation I am going to remove the image. Note this does not delete it from the disk.
Next, I am going to install a new VM in a directory with the desired name in my desired location.
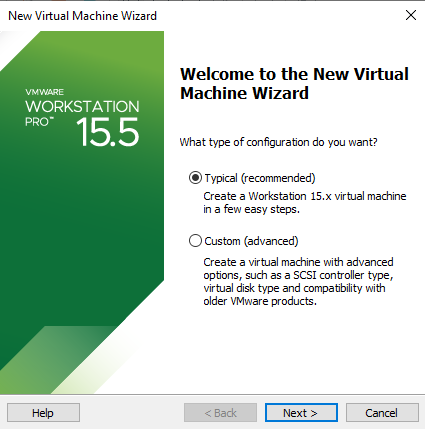
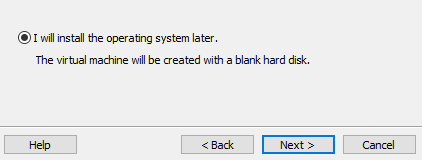
When asked choose “I will install the operating system later.”
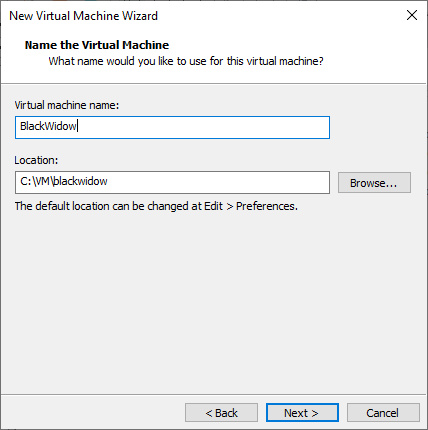
Set this new VM in your desired location and choose the name you wish for your VM
Before finishing I like to customise the machine’s hardware. For this machine, I am going to perform the following
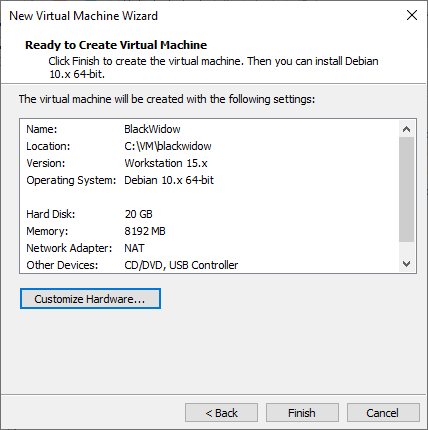
- Remove Printer
- Remove Sound Card
- Increase memory to 8GB
- Go to “Display” and select “Accelerate 3d Graphics”. Then change the Graphics memory to 1GB.
- Under the CPU I will select the following checkboxes.
- Virutalize Intel VT-x/EPT or AMD-V/RVI
- Virtualize CPU Performance Counters
- Virtualize IOMMU (IO memory management unit)
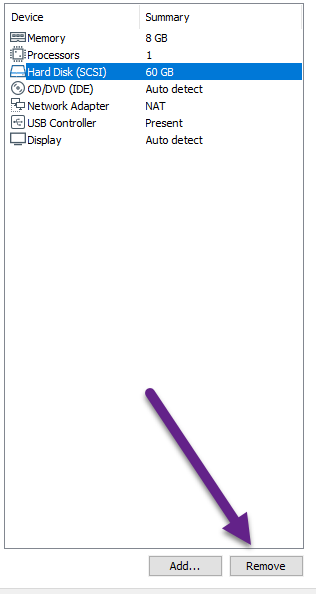
With our machine installed our first job is to delete the brand new created virtual disk.
Either go to the Settings or press CTRL+D` and remove the hardisk
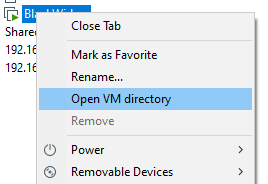
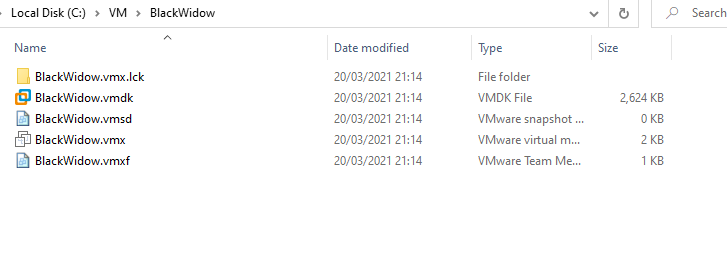
Now lets remove the harddrive from the physical disk. Remember the quick way to get to the folder is to right-click on the machine name and select “Open VM directory”. With the folder open we can now see our new VM and all of its files. Open up the Virtual Machine by right clicking on it similar to earlier
Remove the Hard disk, the file ending in vmdk from the folder. VM in workstation.
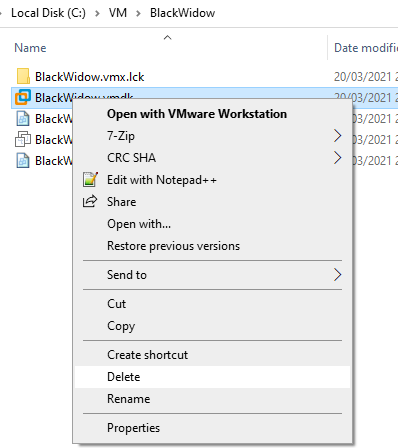
Delete the file from the hard drive

Next we use the Virtual Disk Manager to rename the old hardrive and place it in the new location.

Note: This will move the hard drive from the original folder. You might want to make a copy.
Now all is left is to attach the hard drive.
Got to settings CTRL + D and click “Add”. Select Hard Disk.
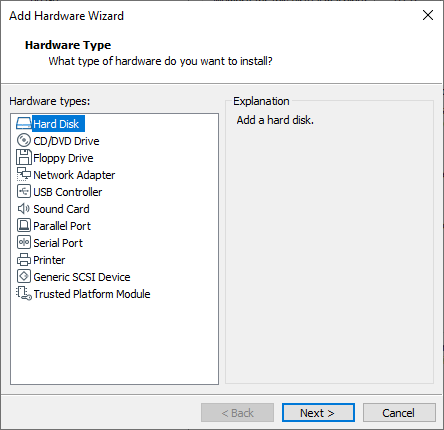
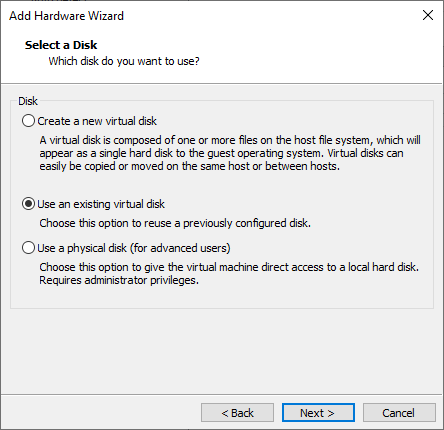
Choose “Use an existing virtual disk”.
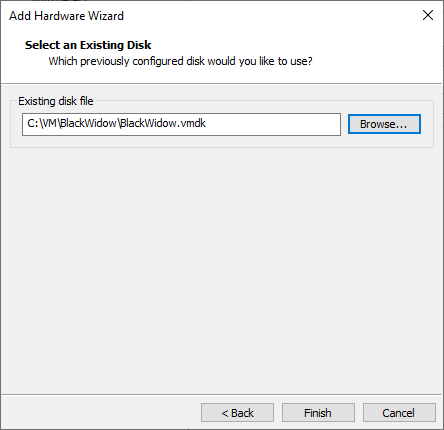
Select the disk you just created and click “Finish”
You can now delete the old folder that contained your machine Hard Disk and boot your new machine up.
References
Anonymous
You're not logged in; your comment will be anonymous.
Log in here to post from your account, or via your social media account:
0 comments
