A Guide On How To Winget

Winget is the name of Microsofts new package manager. A package manager is a tool designed to help you quickly search for and install other tools that your operating system supports. Windows users have waited a long time for a native package manager offering from Microsoft. Until now the best offering has been chocolatey; however, after exploring some of the features I will show you in this tutorial I have made the switch.
- Winget does not come installed by default.
- There are several ways to install it
- Microsoft Store
- Release On Github
- Being a Member of the Windows Insiders Program (Free but may take time to appear as an install option.)
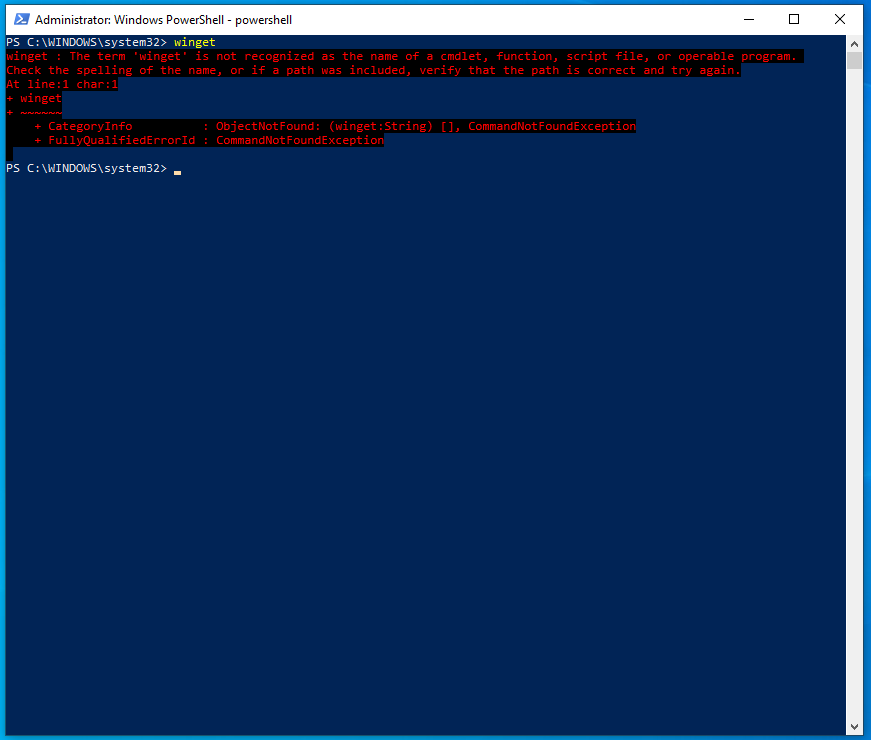
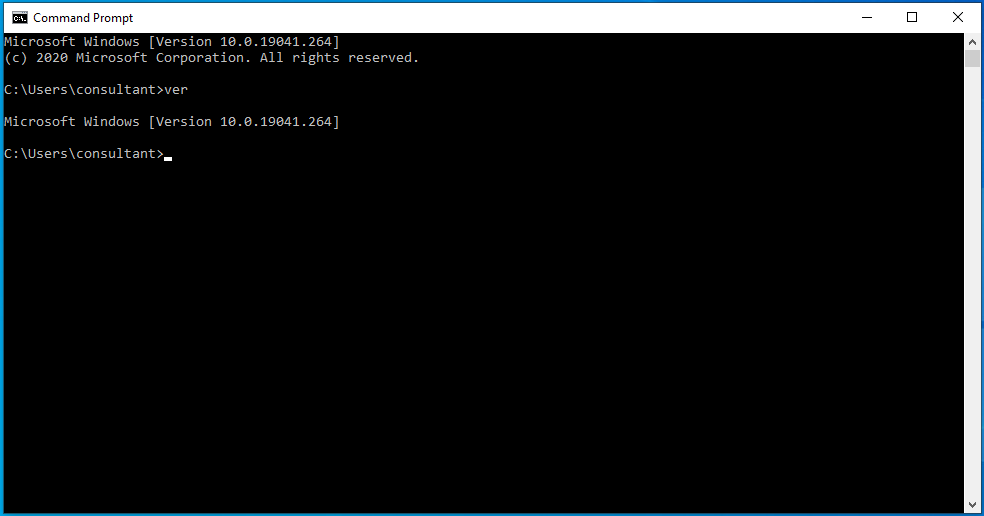
Winget only supported on certain OS Versions. @todo: Enter OS that Winget Supports
- Because you will be using Winget to install the software you typically need to open up the console as an Administrator.
In this tutorial, we will be installing from Github however you can just as easily install this from the Windows Store if you have it enabled. * It can take a few days for the option to install Winget to appear
I will be installing this release * https://github.com/microsoft/winget-cli/releases/tag/v1.2.10271
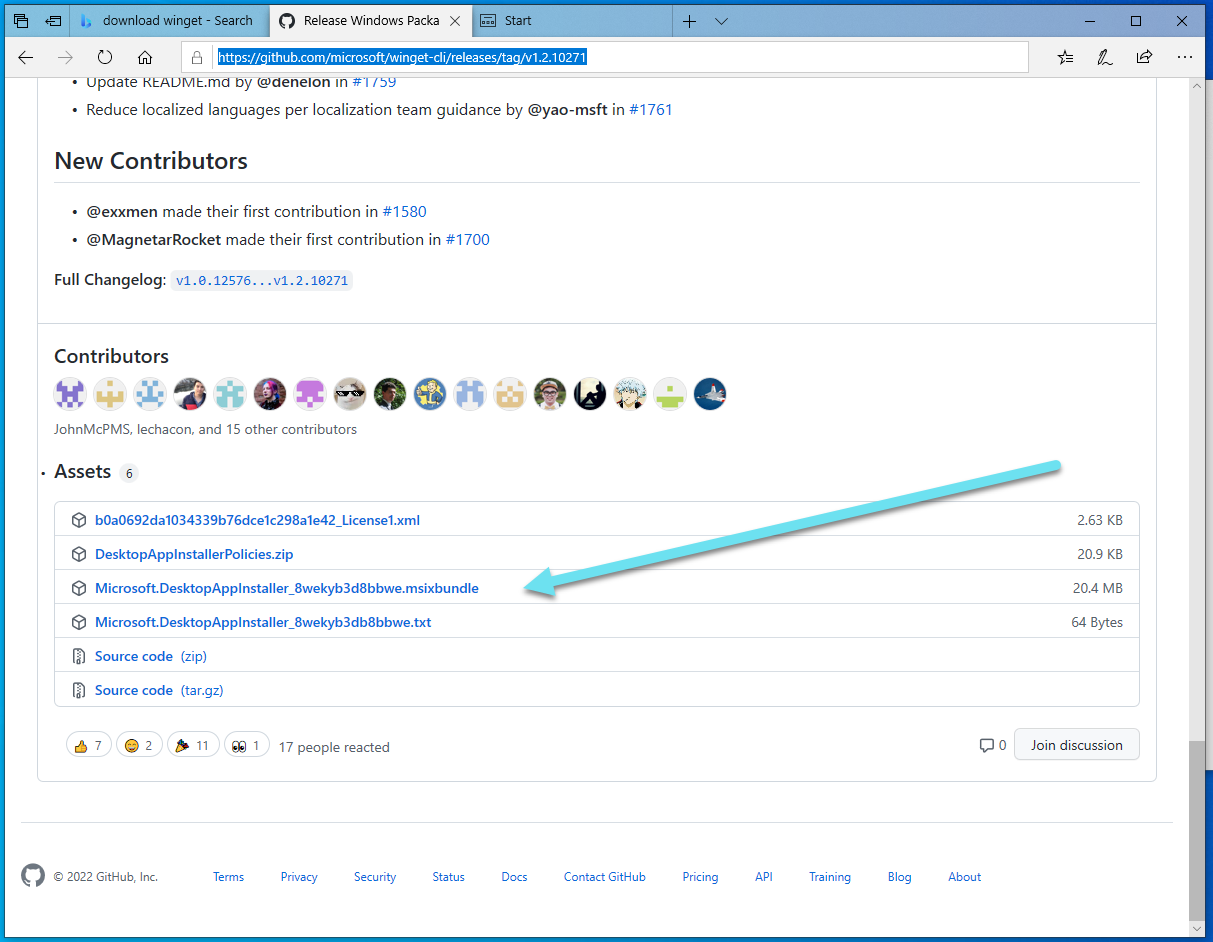
After you click to download you can install by selecting open. This saves you having to save to disk, find the file and then having to click again to install.

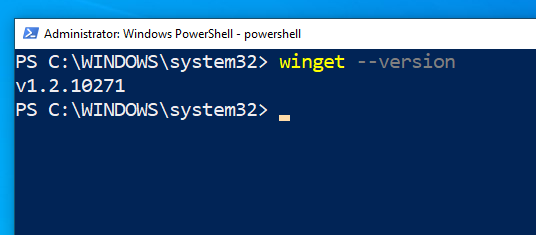
Windows will now install winget. We can verify this by seeing the version
winget --version
The first time you actually use Winget for anything other than verifying its version you will see an agreement acceptance response like that below.

We can list packages currently installed on our machine.
winget list
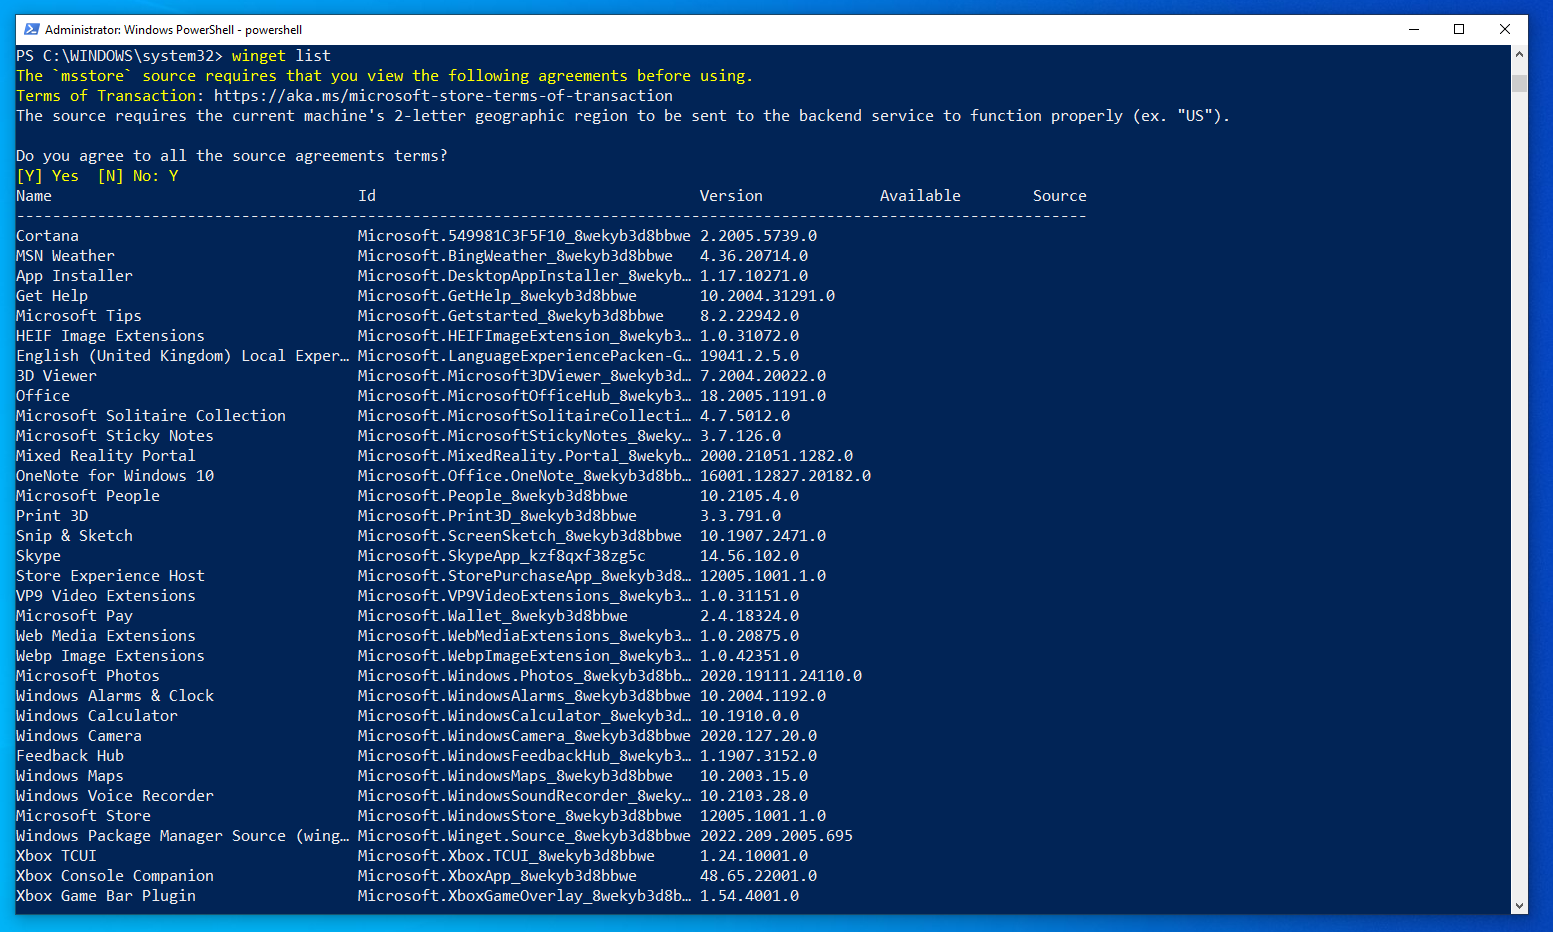
We can query these packages
winget list -q <term>

We can show only the first n number of results
winget list -n 10
Searching for new packages
winget search <term>
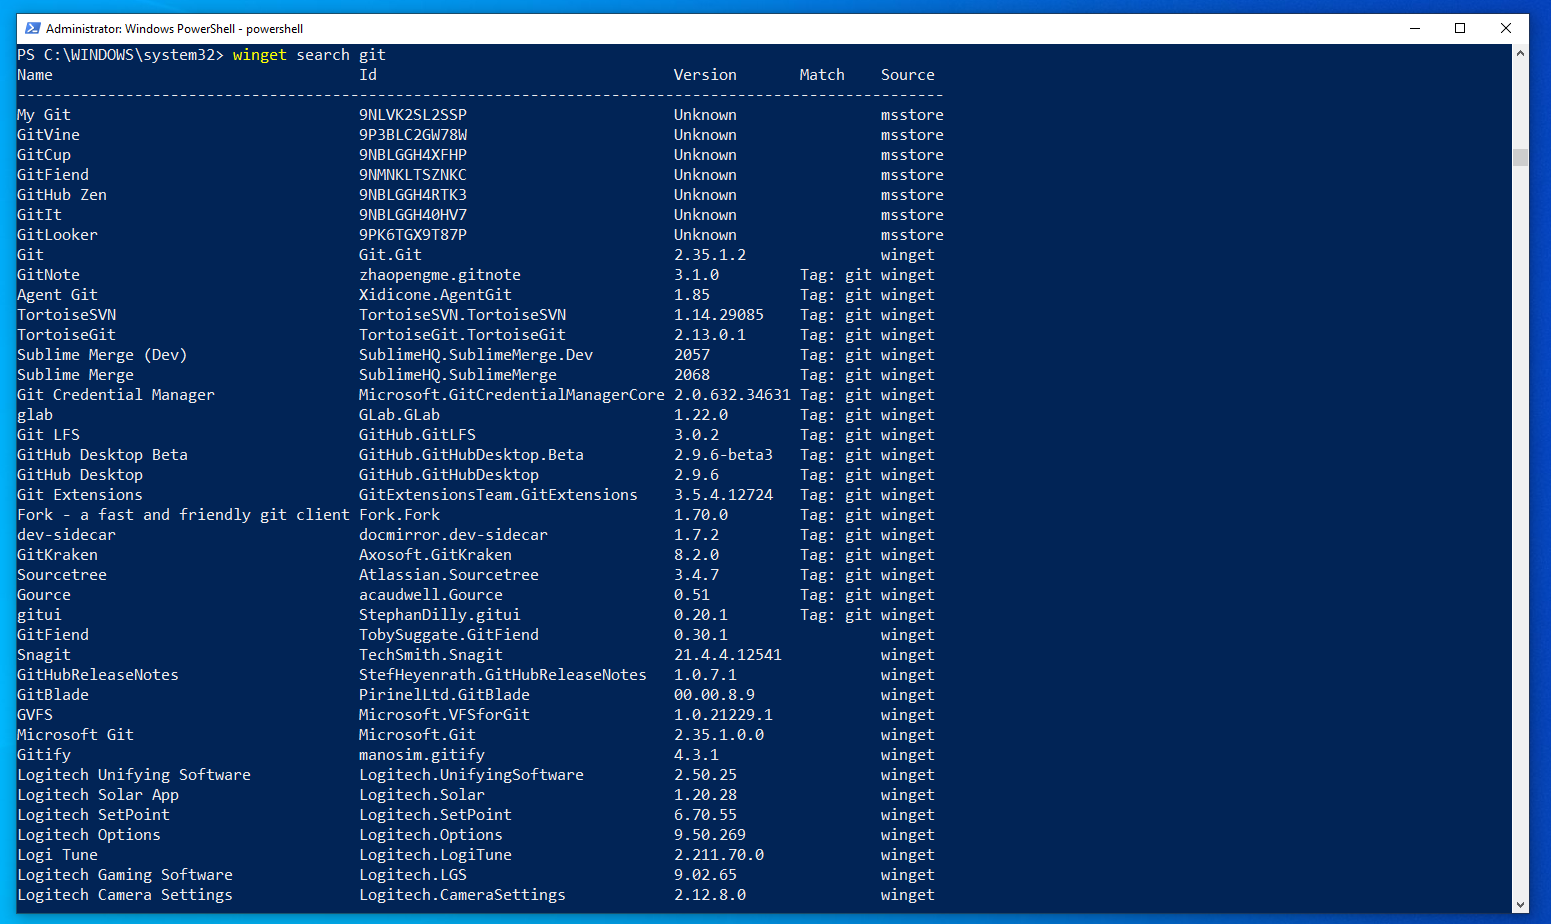
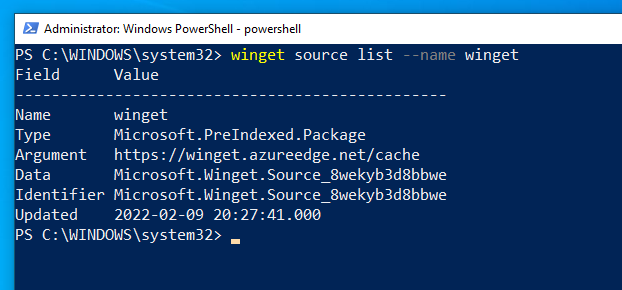
If you look at the last example you can see Winget searching for packages from two sources. We can list the sources that Winget knows about.
winget source list
Note you can install additional sources but that is out of scope for this tutorial. This is just a crash course to get you started.
We can also inspect a source.
Okay, let us go back to searching. This time we will limit our search to a source.
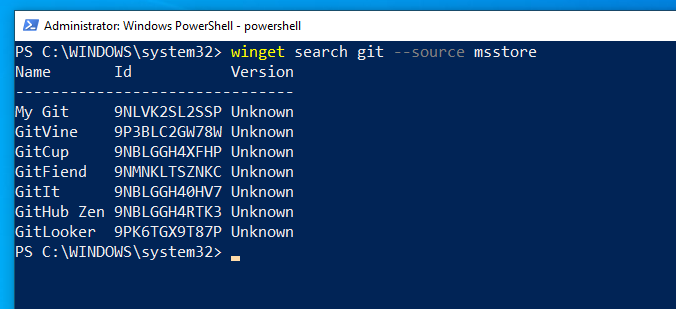
We can also search by Tag
winget search --tag github
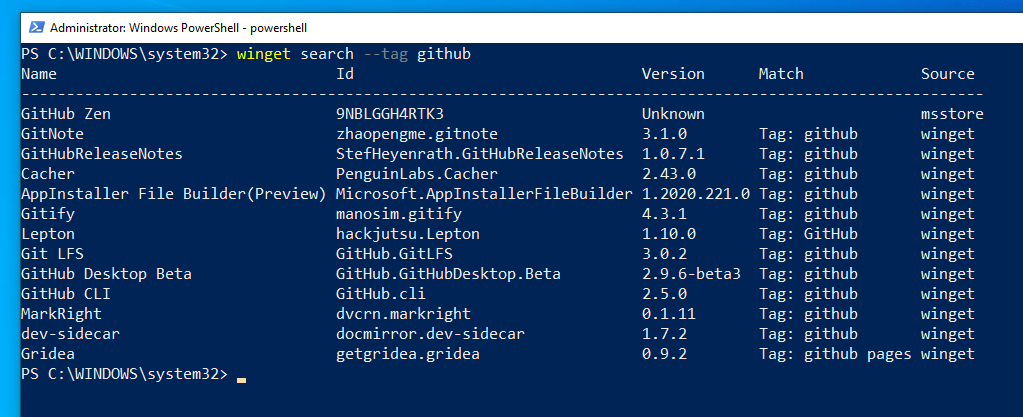
We will now look at installing packages. We will look at a worked example using Microsoft Visual Studio Code.
First, we will search.

The top result looks like what we want. We can use the show subcommand to find more information.

If you look at the arrow we can see the package has a moniker. Typing Microsoft.VisualStudioCode with the install command would work but it is a lot to type. Instead, we can reference the package using the moniker.

We can now install the package
winget install vsscode

Great so our package is now installed.
When installing you may see UI windows open like in the screenshot below.
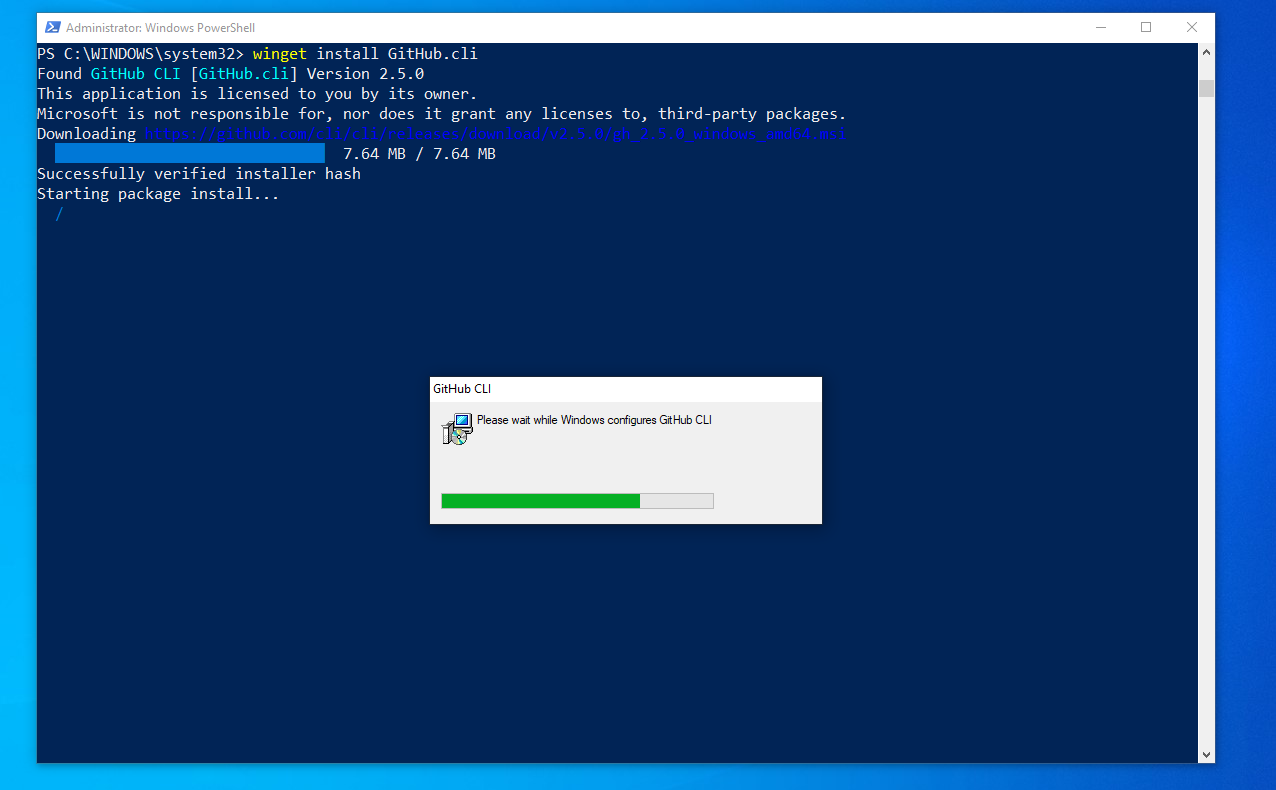
We can prevent that happening, however.
First I will show you how to uninstall a package and then we will install it a second time without the UI prompts.
Uninstalling
winget uninstall Github.cli

Installing with the --silent flag.

I have gone ahead and installed a few other programs and I like the collection of packages I have installed. What if I wanted to save this combination of packages for installation on another machine.
winget export -o <file path>
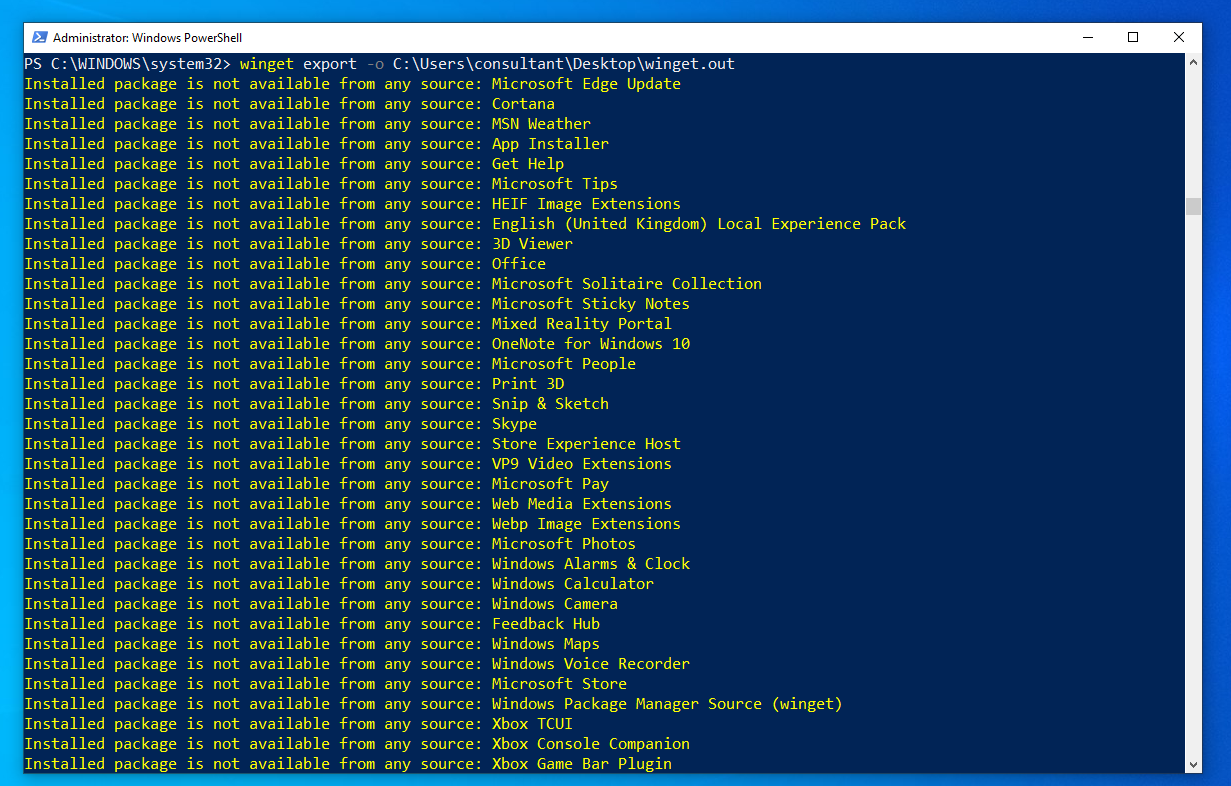
We can see that some Windows Packages do not have packages available in the Microsoft Store or in the Winget repository.
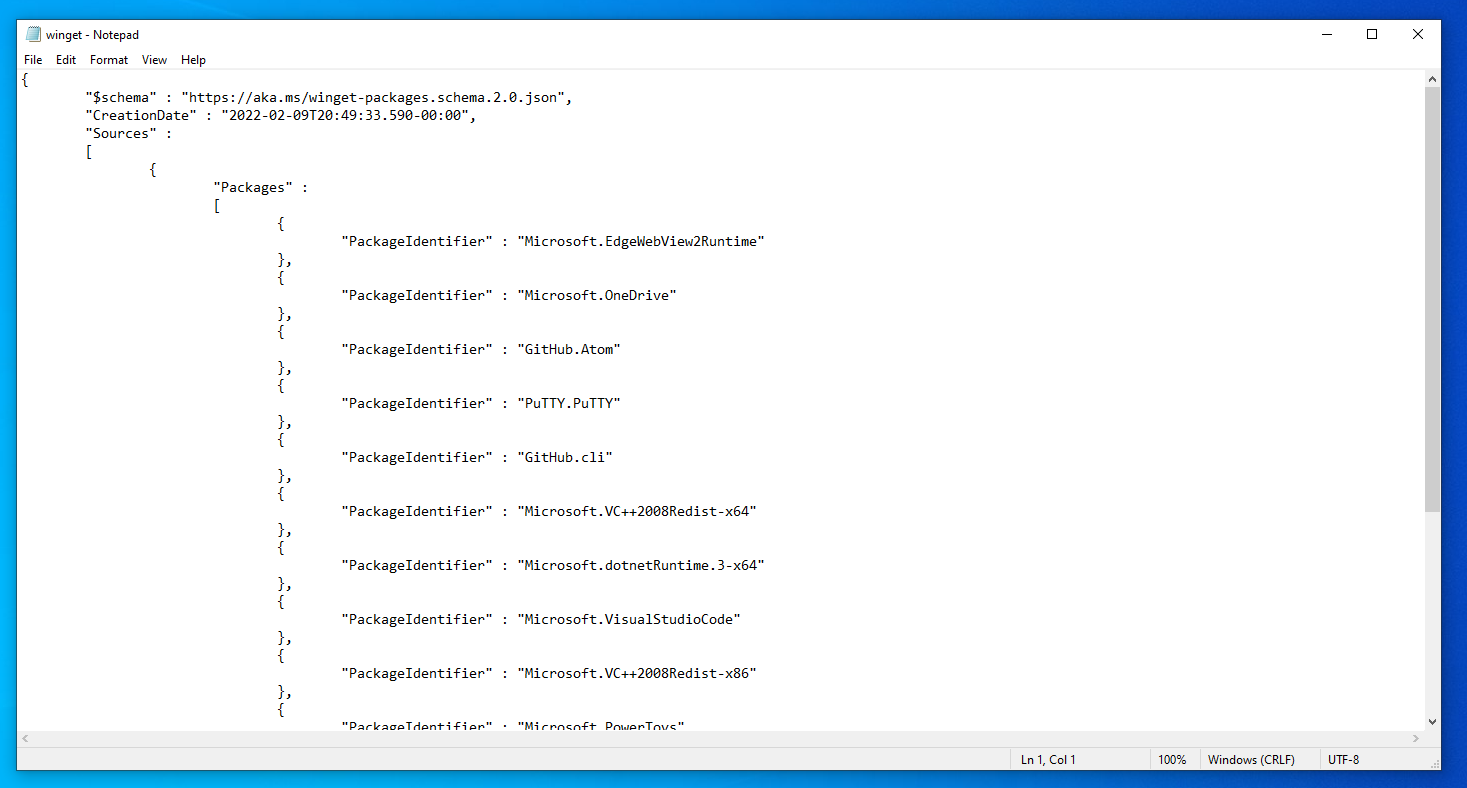
Let us check the file we saved. Here it is where we specified on the desktop.

If we look inside we can see the file is in JSON and we can see a collection of packages I have installed.
I have removed some of the packages I installed but not all. Now I want to get the system up to sync.
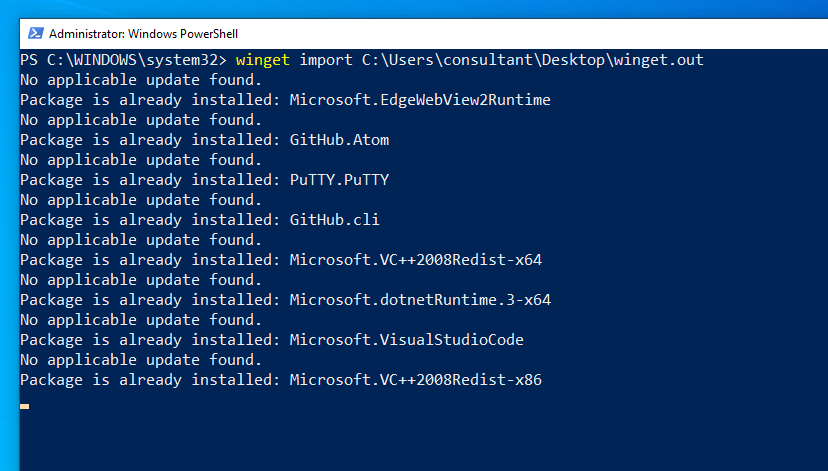
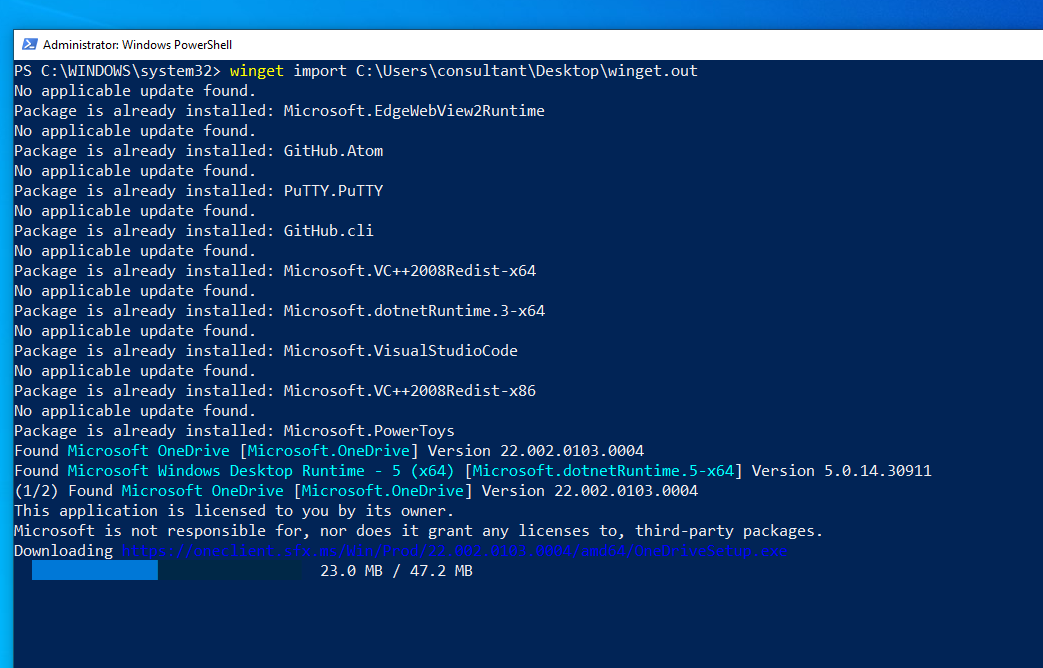
As Winget gets to packages that are either not installed or have upgrades it gets to work.
